
From Resin to Pumpkin Glow: The Making of a Handmade Candle

Updated: Sep 25
There is something magical about watching a handmade piece take shape—especially when it starts with a handful of molds, resin, colour, and a little imagination. Here is the process behind creating these pumpkin-inspired resin candles from beginning to end.
Preparing the workspace
The process begins by setting up a clean, level workspace and choosing the silicone molds. Everything is arranged so the resin can be mixed, coloured, embellished, and poured carefully.

Mixing and preparing the resin
Next, the resin is measured and mixed thoroughly. Taking the time to combine the components evenly helps create a smooth, clear finish. The resin is then divided and prepared for the colours and details that will make each piece unique.


Adding copper accents
Warm golden shimmering copper flakes bring the pumpkin design to life. The flakes are placed with intention, but handmade resin always has a little personality of its own—no two pours will ever be exactly alike.

Pouring into the molds
Once the resin is ready, it is poured into the pumpkin molds. The molds are filled carefully to capture the rounded pumpkin shape, the lid, and the small stem details. Then the pieces are left undisturbed while they cure.

The finished result
After curing, the pieces are unmolded, checked, and finished. The result is a pair of glowing pumpkin candle vessels with clear resin, golden colour, and copper shimmer. The lid lifts off to reveal the candle inside, making each piece both decorative and functional.


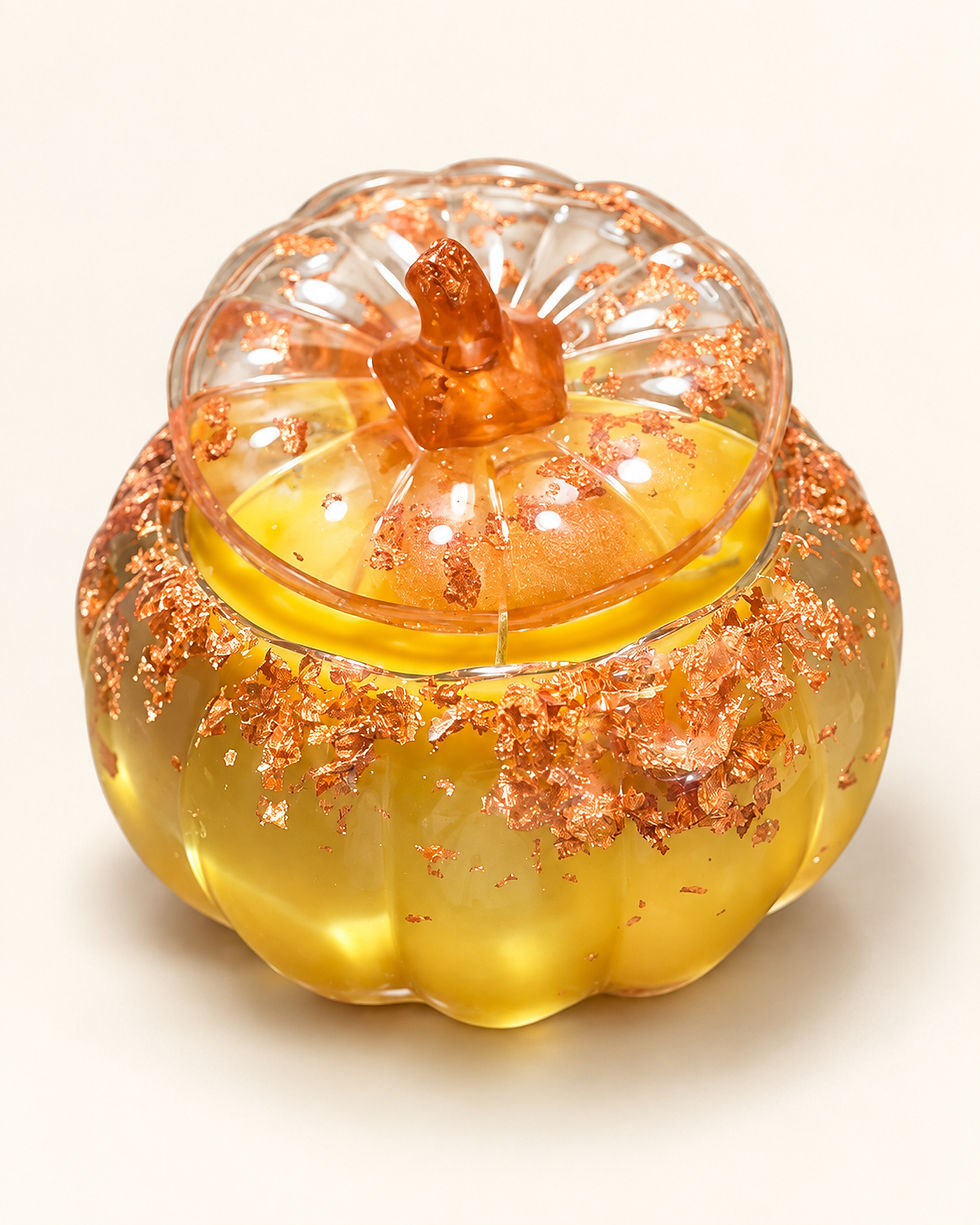

Every piece is handmade with care, so slight variations are part of its charm. From the first mix to the final finish, each creation carries the character of the process—and that is what makes handmade special.
Interested in a custom colour combination or a one-of-a-kind resin piece? Get in touch with Knox’s Mom Crafty Chaos and share your idea.
With love and a little chaos,
Hilary
Knox’s Mom Crafty Chaos
Comments